Introduction
A pull request flow is a lightweight, 6 steps, branch-based workflow. Note: this guide uses some quotations from GitHub Guides (Open Source).
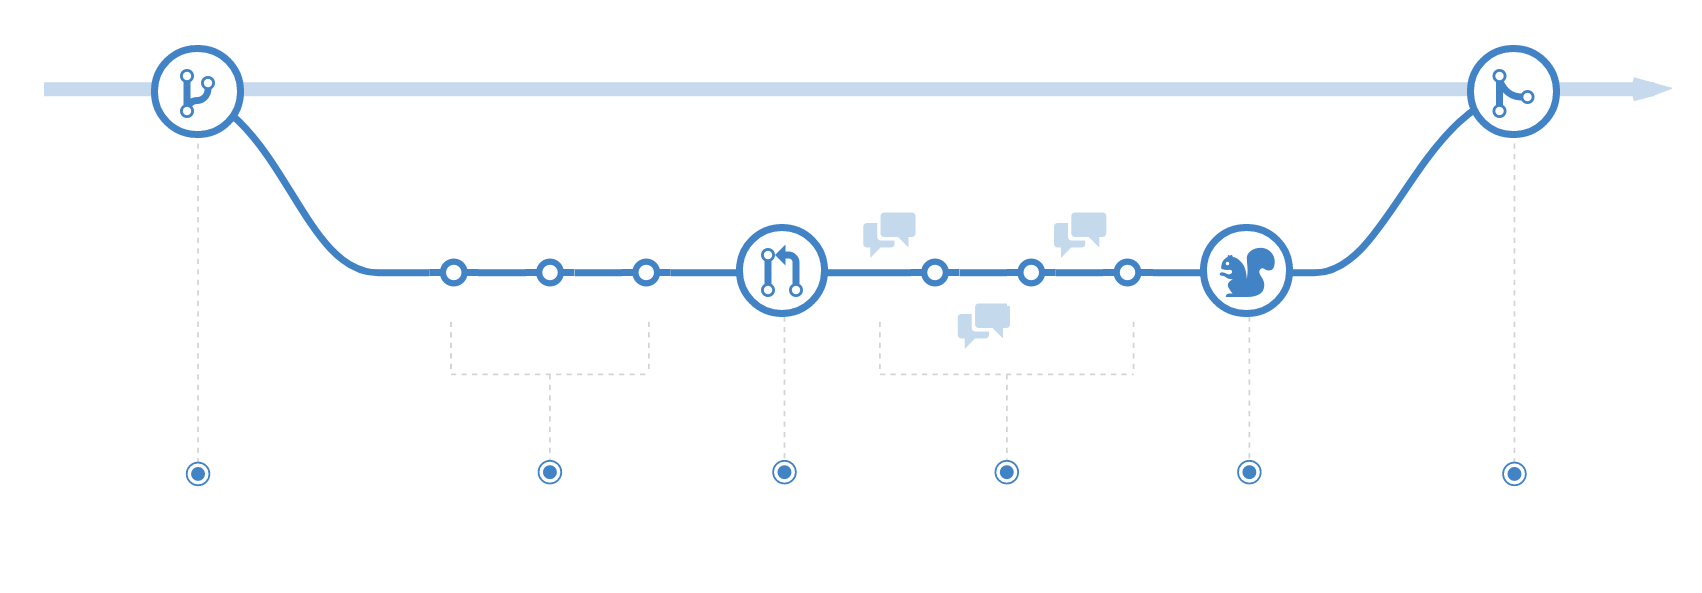
Here is an overview of the pull request workflow:
0. "Pull" the changes to your local machine (get the most recent base)
1. Create a "branch" (version)
2. Commit the changes
3. Open a "pull request" (propose changes)
4. Discuss and review your code
5. Rebase and tests
6. "Merge" your branch to the master branch
1. Create a branch
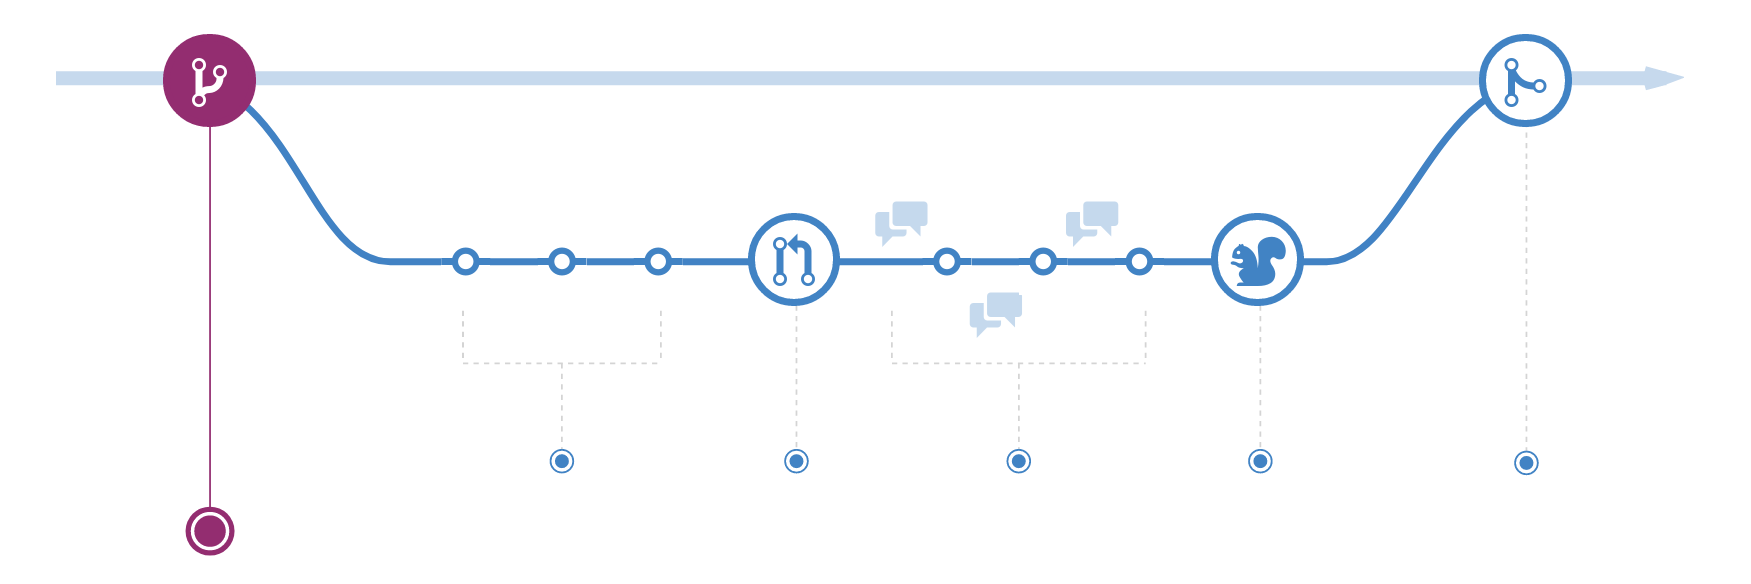
Branches
The master branch is the "default" branch when you create a repository. Use other branches for development and merge them back to the master branch upon completion.
create a new branch named "feature_x" and switch to it using
git checkout -b feature_x
a branch is not available to others unless you push
the branch to your remote repository
git push origin <branch>
Note : Git comes with built-in GUI tools for browsing - gitk.
We recommend you to use it in order to get a good overview of your branches.
You just have to launch it within your repository:
gitk
Tip : There's only one rule: anything in the master branch is always deployable. Because of this, it's extremely important that your new branch is created off of master when working on a feature or a fix. Your branch name should be descriptive (e.g., refactor-authentication, build-maze-visualizer, use-embedded-format).
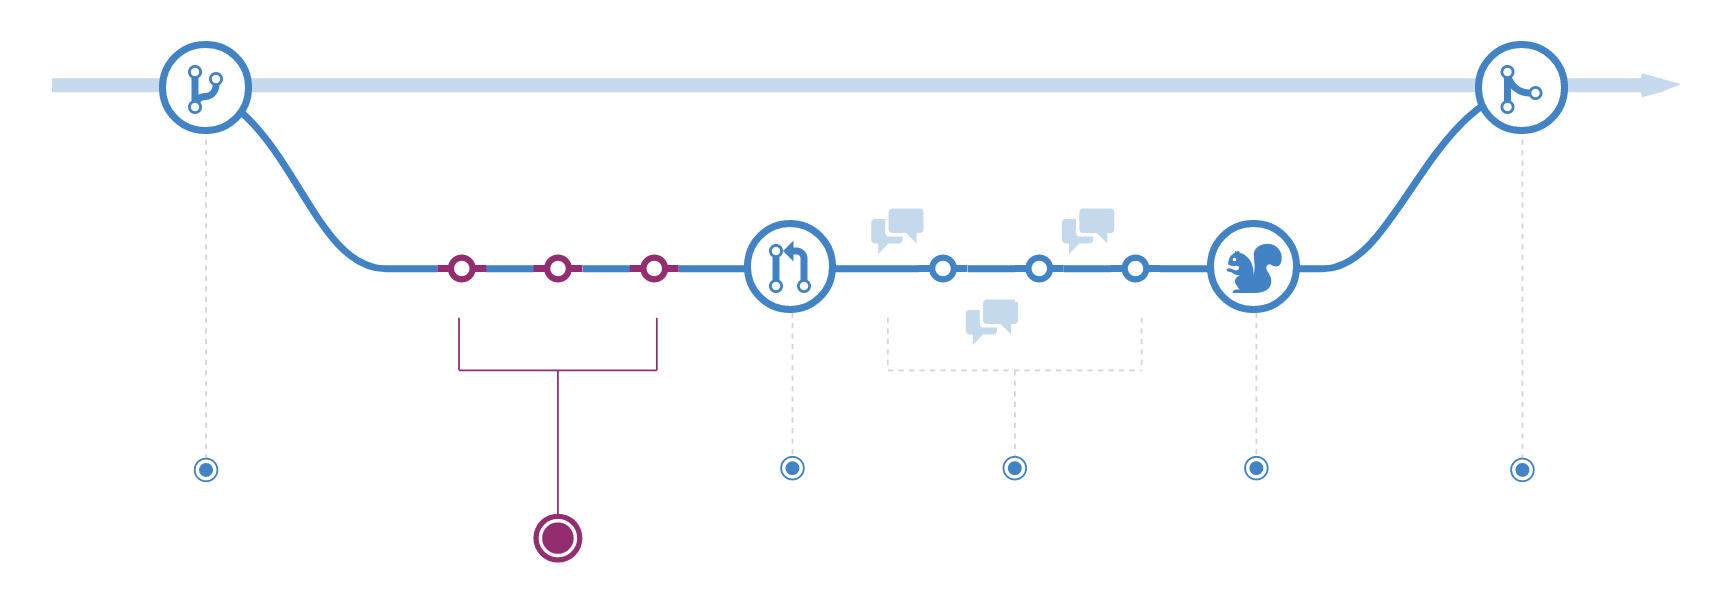
2. Commits
This process of adding commits keeps track of your progress as you work.
Commits also create a transparent history of your work that others can follow to
understand what you've done and why.
Each commit has an associated commit message,
which is a description explaining why a particular change was made.
Furthermore, each commit is considered a separate unit of change.
This lets you roll back changes if a bug is found, or if you decide to
head in a different direction.
Add & commit
You can propose changes (add it to the Index) using
git add <filename>
git add *
To actually commit these changes use
git commit -m "Commit message"
Note : Git comes with built-in GUI tools for committing - git-gui.
We recommend you to use it in order to
avoid being struggled with the command line. You just have to launch it within your repository:
git gui
Tip : Commit messages are important, they describe your code history. By writing clear commit messages, you can make it easier for other people to follow along and provide feedback.
3. Open a Pull Request
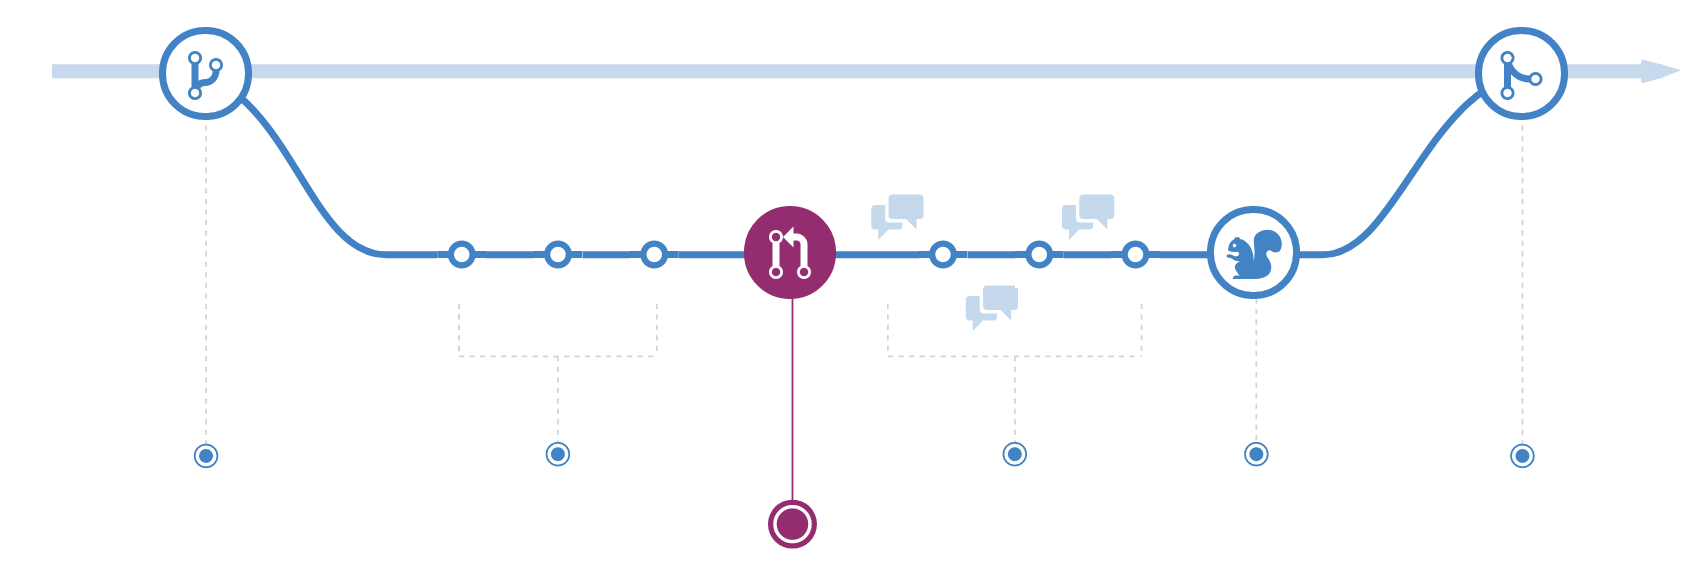
Pull Requests initiate discussion about your commits. Anyone can see exactly what changes would be merged if they accept your request.
You can open a Pull Request at any point:
when you have little or no code but want to share some screenshots or general ideas,
when you're stuck and need help or advice,
or when you're ready for someone to review your work.
Tip : Pull Requests are useful for contributing to open source projects and for managing changes to shared repositories.
4. Discuss and review your code
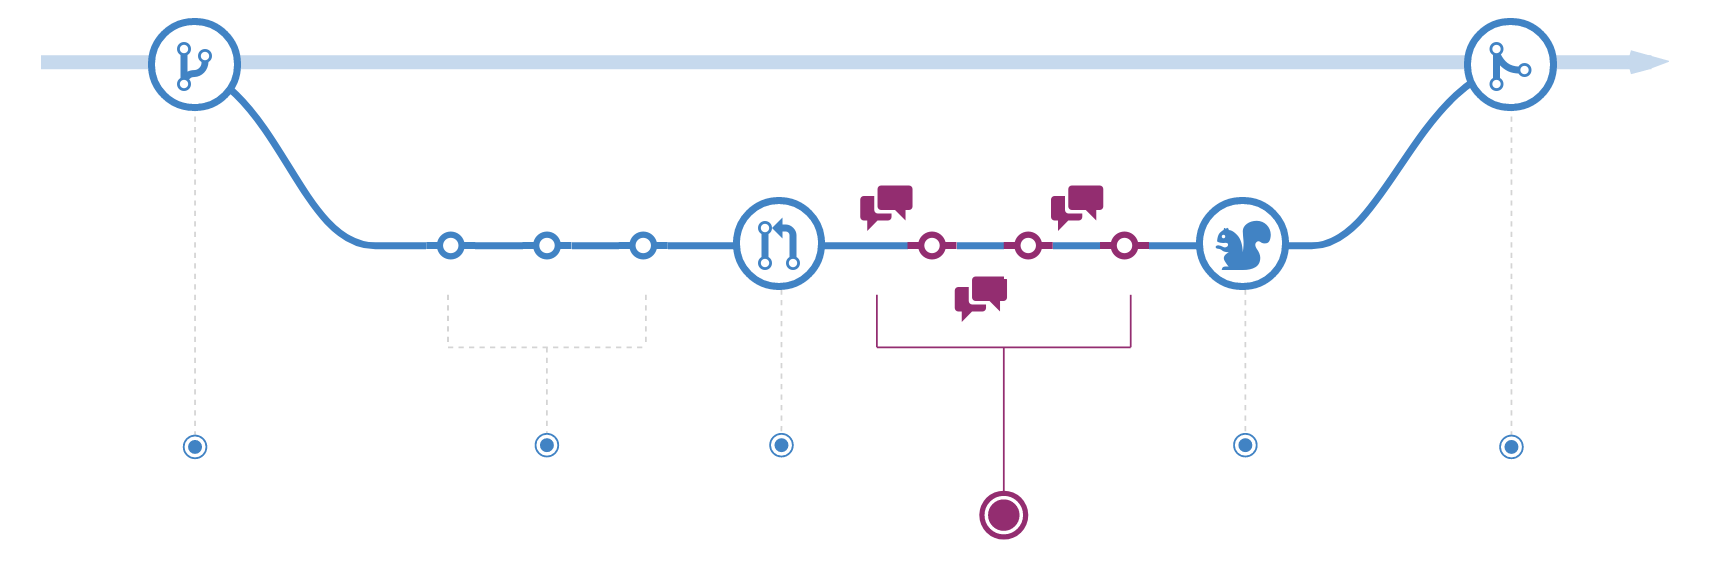
Once a Pull Request has been opened, the person or team reviewing your changes may have questions or comments (the most often through your git host platform). Perhaps the coding style doesn't match project guidelines, the change is missing unit tests, or maybe everything looks great and props are in order. Pull Requests are designed to encourage and capture this type of conversation.
You can also continue to push to your branch in light of discussion and feedback about your commits. If someone comments that there is a bug in the code, you can fix it in your branch and push up the change.
5. Rebase and tests
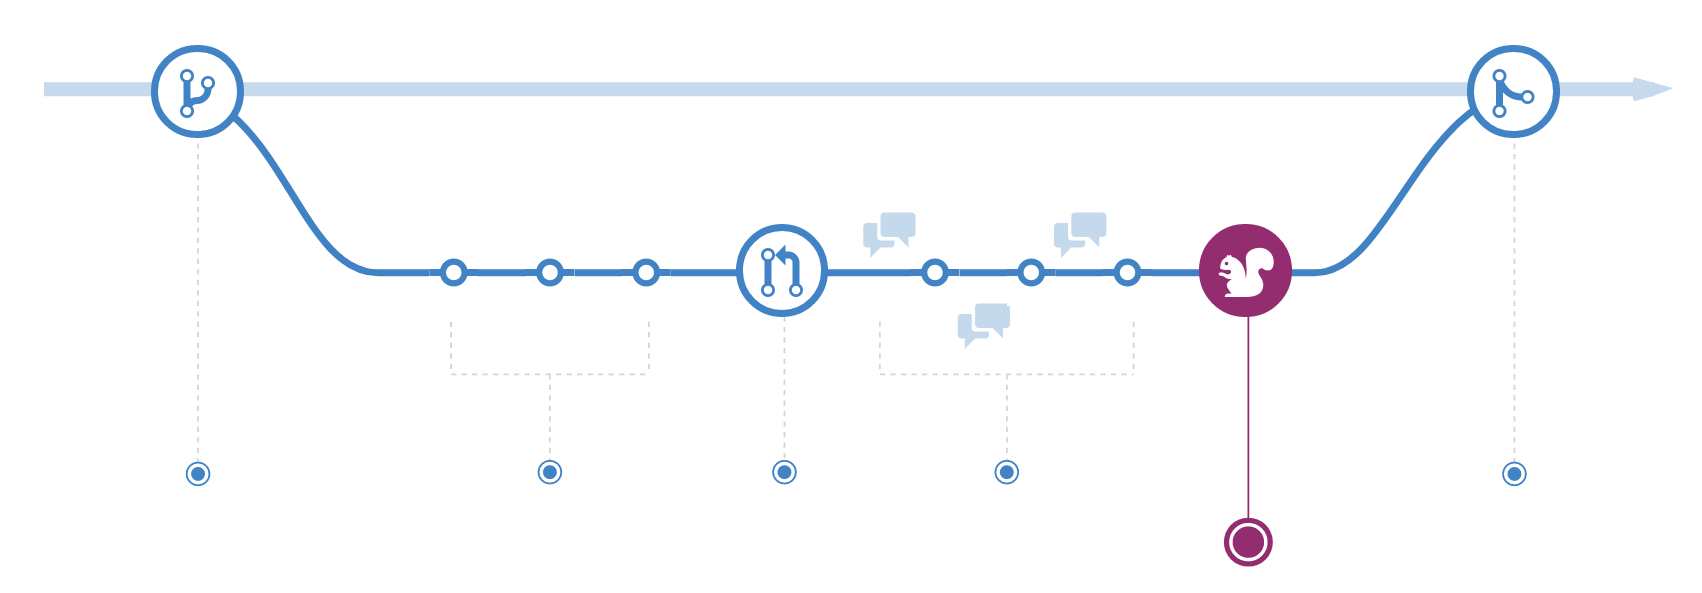
Once your pull request has been reviewed and the branch passes your tests, you can rebase your branch on master (it will use the most recent version of the code base) in order to test all the changes together (production).
Rebase
To take all the changes that were committed on master and replay them on the current branch.
git rebase master
This operation works by resetting the current branch to the same commit as
master, and applying each commit of the current branch.
If your branch causes issues, you should fix it in your branch before merging with master.
6. Merge
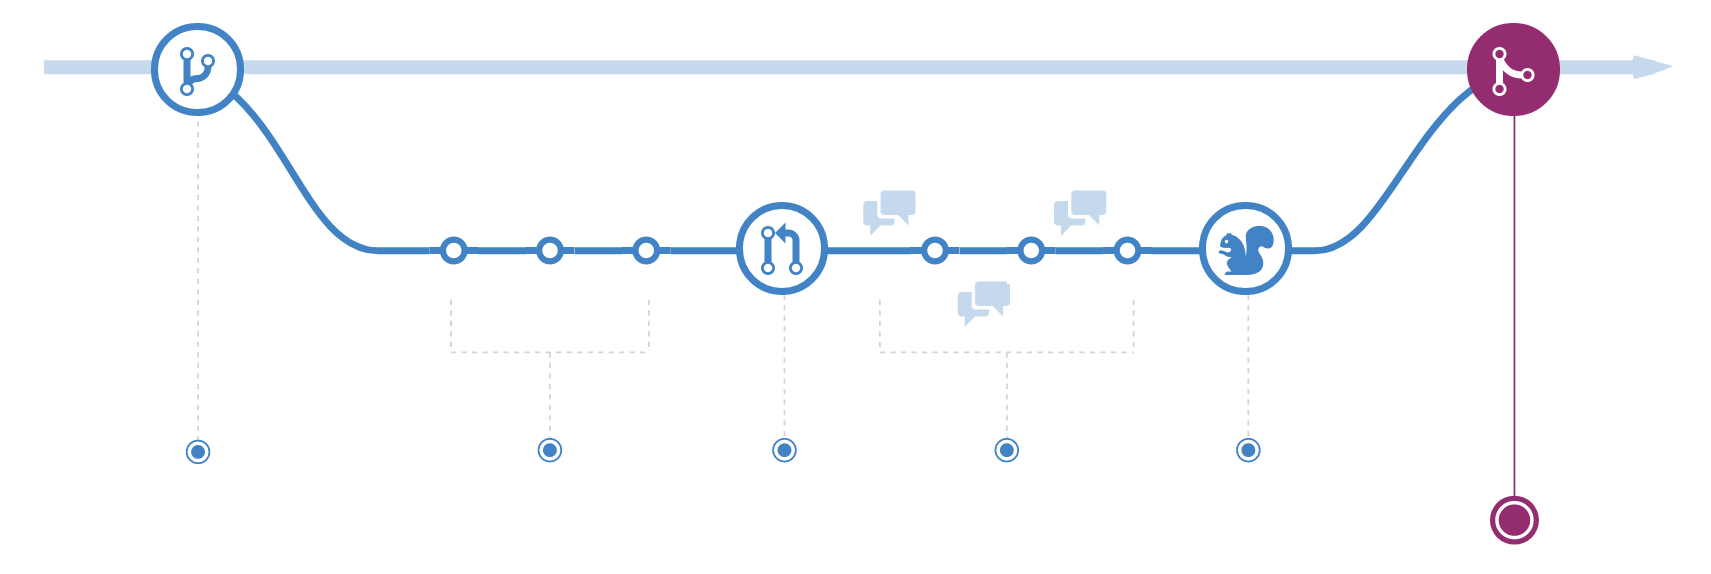
Merge
Now that your changes have been verified in production,
it is time to merge your code into the master branch.
git checkout master
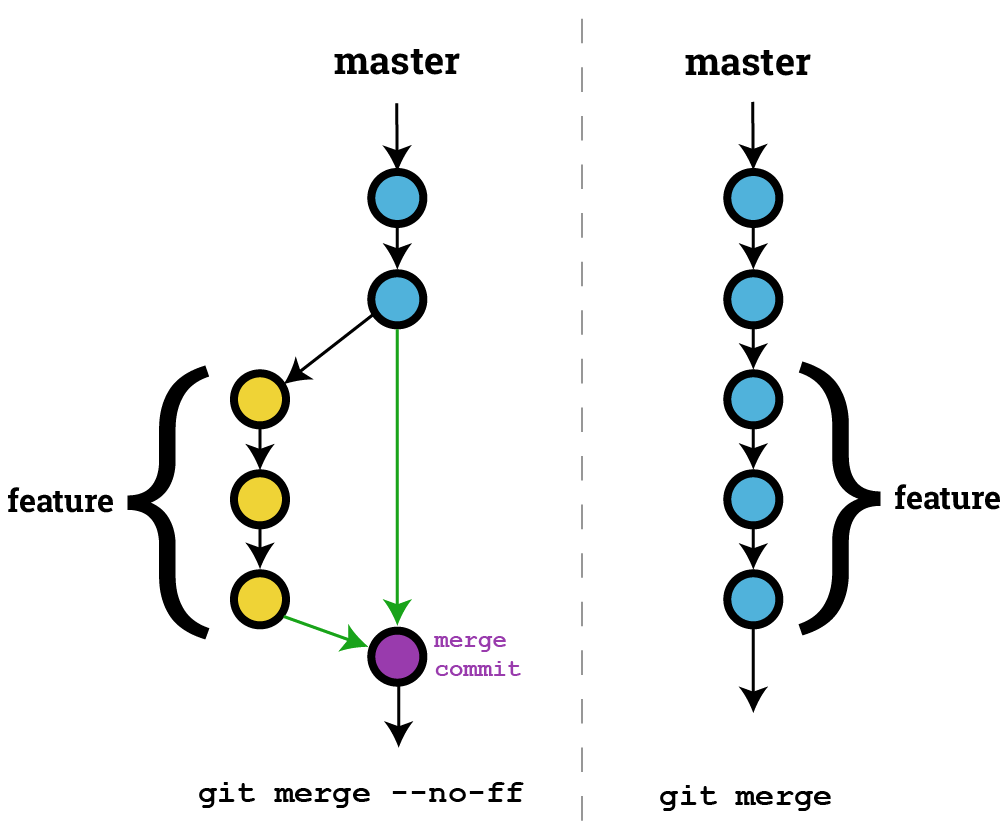
git merge <branch> --no-ff
--no-ff | No Fast Forward
The --no-ff option is useful when you want to have a clear notion of your feature branch. So you treat a feature branch with a bunch of commits as a single unit, and merge them as a single unit. It is clear from your history when you do feature branch merging with --no-ff.
Tag & Version
Tag & Version
It is recommended to create tags for software releases.
You can create a new tag named Hurna v1.3.0 by executing
git tag -a v1.3.0 -m "Hurna v1.3.0"
This makes it easy to keep track of your versions and rollback if needed.